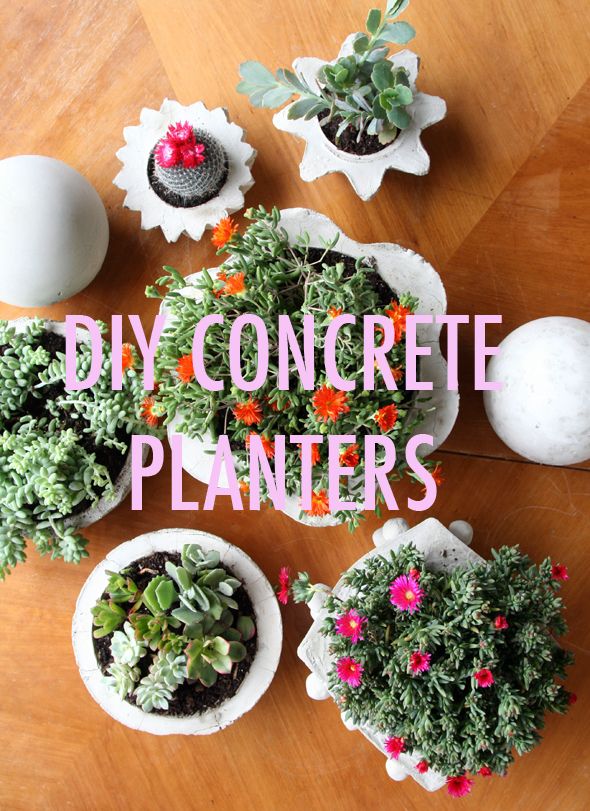
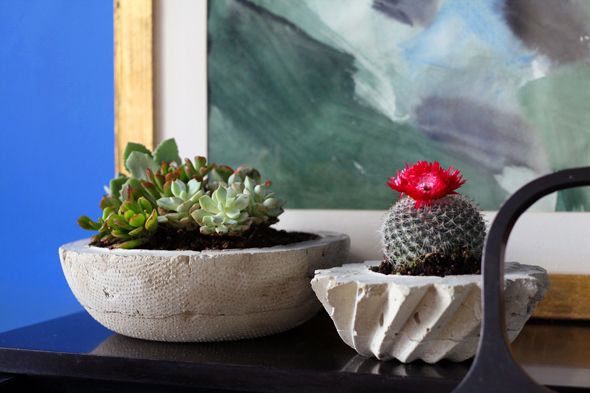
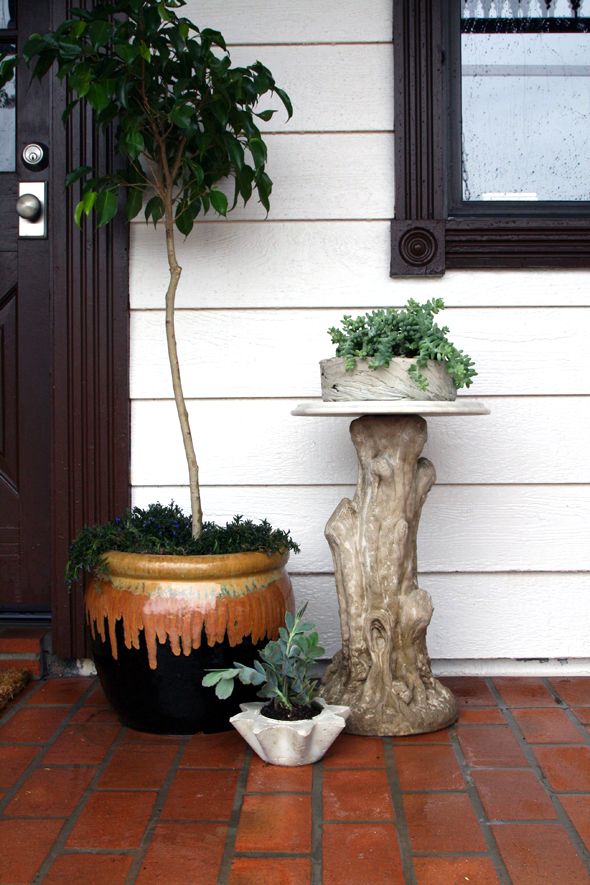
To get myself all geared up for the big party tomorrow, I've been doing some gardening projects around my house. You all know I've been dying to try a DIY concrete planter for a while now. Well, this was the week! I felt the call of the DIY and I answered it with a big ol' bag of concrete.
So before I jump in to the tutorial, a little word to the wise - you might as well make five (or ten!) planters if you're going to the trouble (and mess) to make one. It's only a marginal amount of more work to make multiples, and I think these would make really cool hostess or house warming gifts! So why not?
Here's the pretty simple how-to:
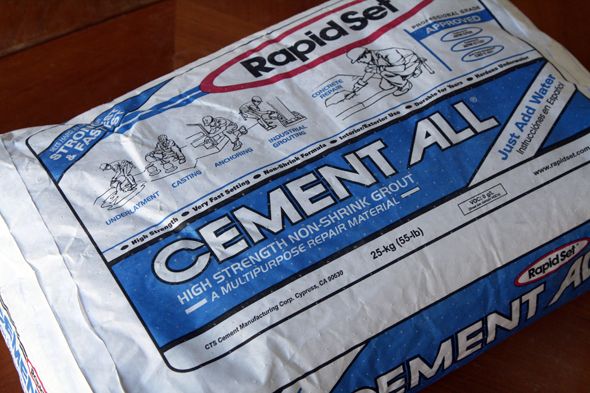
Most importantly, you'll need a bag of this inexpensive, great and easy-to-mix concrete (huge thanks to my local Home Depot guy for recommending this particular brand. Dude knew his stuff!):
And you'll need a lot of PLASTIC containers (metal will work - I used several - but wow, what a headache!). A little trip to my closest Goodwill store was pretty fruitful for container gathering!
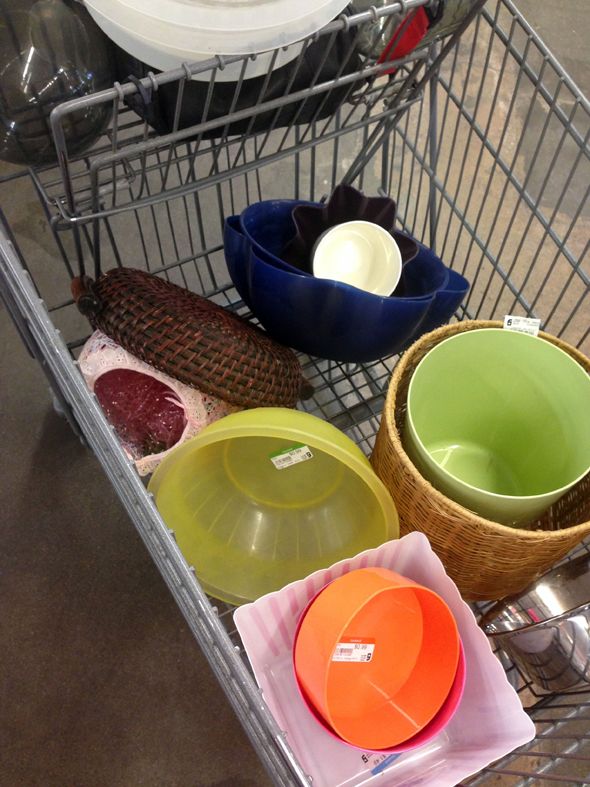
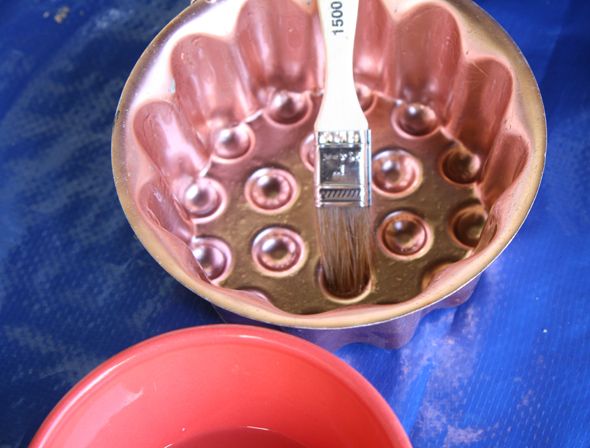
The trick is to find containers that have an interesting shape or pattern on the inside, so that the outside of your planter will have a cool imprint or shape. You'll also want to find more simple containers that fit inside the bigger outer containers, but that leave at least an inch or two gap between the two.

Before you start, you'll probably want to wash all the containers and then give the insides a brushing of any type of oil or Pam you have on hand (this helps the concrete pop out easier later).
Then it's time to mix the concrete, which might feel mildly terrifying, but I promise it's super easy. You'll want a garden trowel and long mixing utensil (I used an old metal serving spoon) and a 2.5 gallon bucket for mixing the concrete. Don't forget to put everything on a big tarp or heavy drop cloth. This is definitely an outdoor project, and gloves and masks are a must.
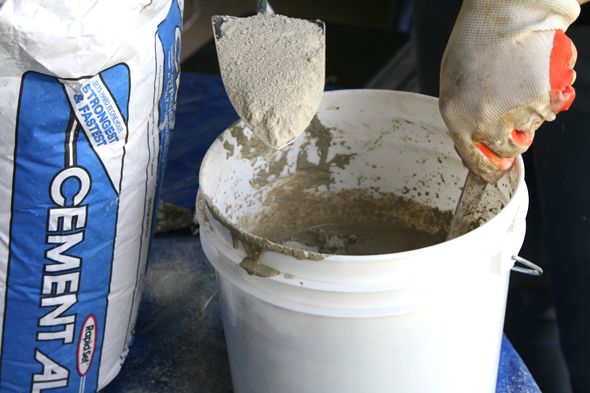
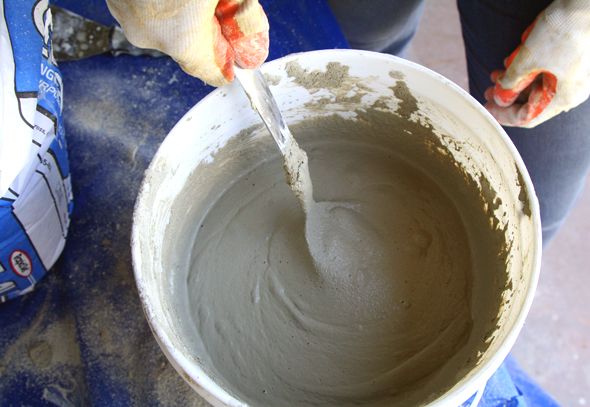
You add concrete to water (or water to concrete) with the trowel, stirring, stirring, stirring, until you get something close to pudding consistency. This brand of concrete is quick set, so pretty much by the time it's completely mixed (lump-free), it's ready to be poured.
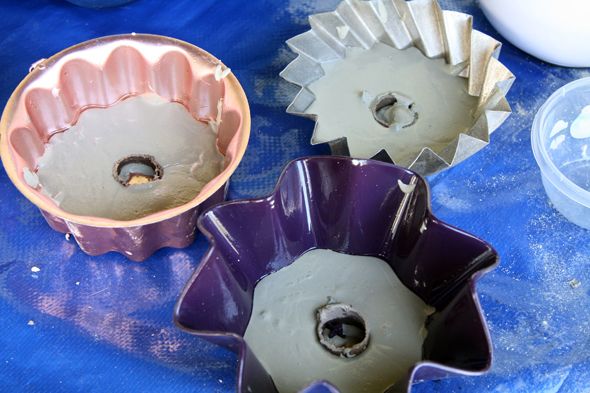
You'll need to pour the bottoms of the planters first. If you want a drainage hole, stick in a dowel or cut a piece of cardboard tubing down like we did to the exact depth you want for the bottom of your planter, and pour concrete around that.
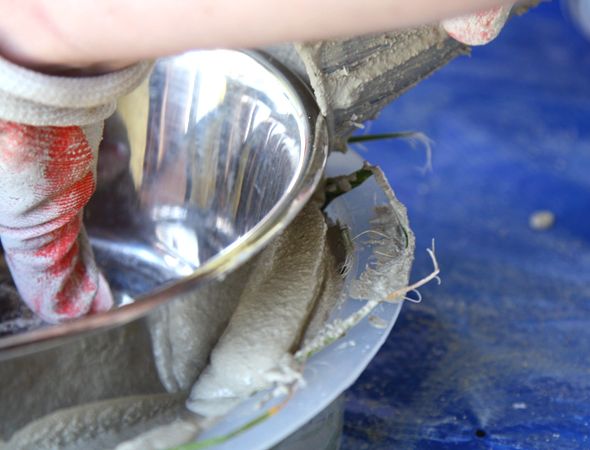
Sort of shimmying the container after pouring helps the concrete settle and smooth out beautifully. And a couple of soft drops on the table or ground helps air bubbles come to the surface. This specific concrete will be dry in, like, an hour or less (but be careful - it gets crazy HOT while it's curing!). The planters will pretty much just plop right out of the container molds, especially the plastic ones. It's awesome.
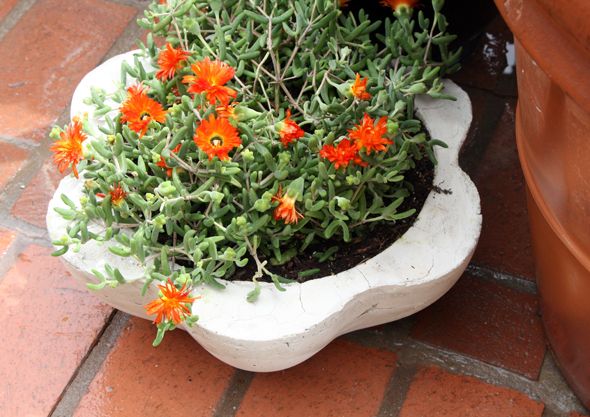
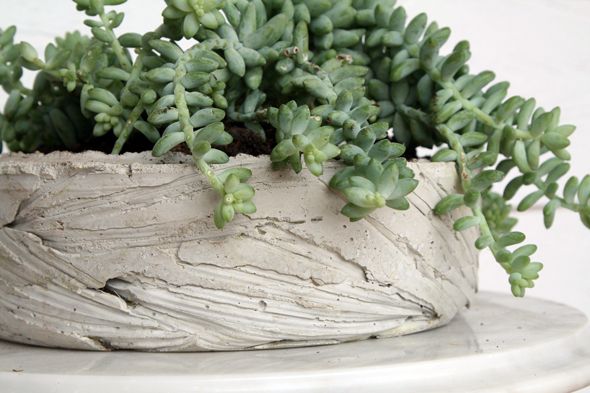
The concrete is a really pale gray right now, but I know it will weather over time.
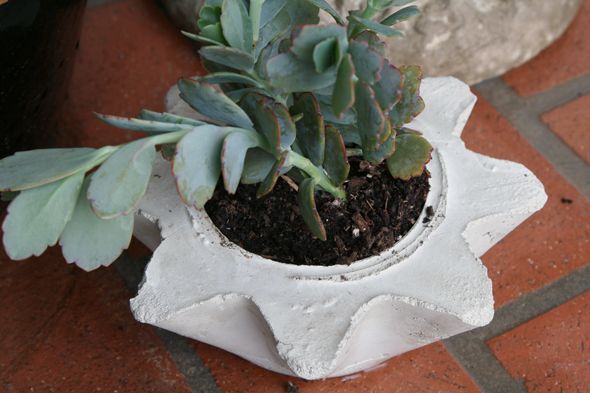
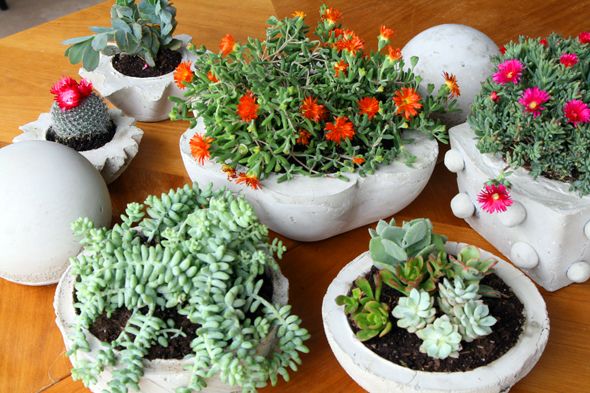
These planters were both made with metal outer containers. The spiral one was a special sort of nightmare to work out of the mold! YIKES. But kind of cool right? The one on the left was made with a colander!
This one was made from the purple plastic container and it could not have been easier to get out! Easy breezy.
I started to get experimental after a few of the more simple planters. For one shallow container mold, I hot glued palm fronds to the sides of the outer container.
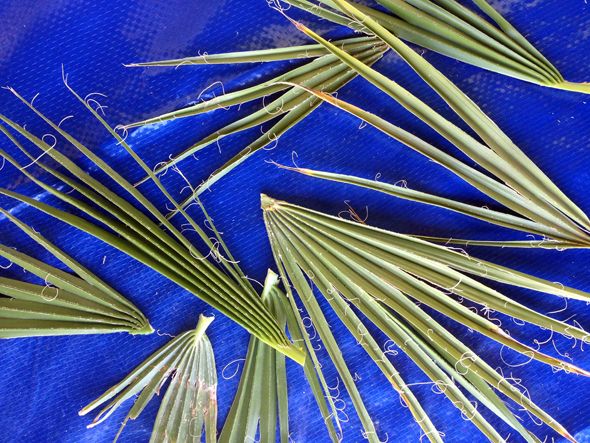
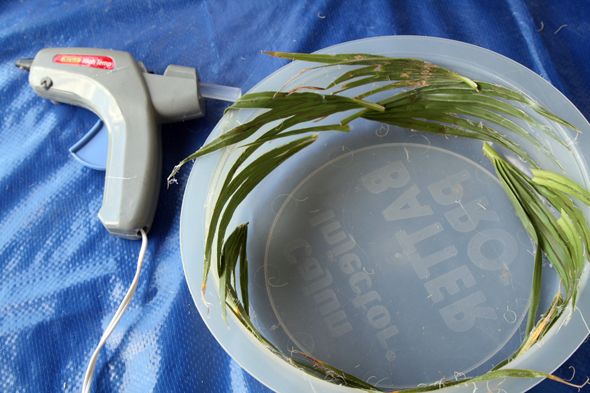
I love how organic and textural the pattern is!
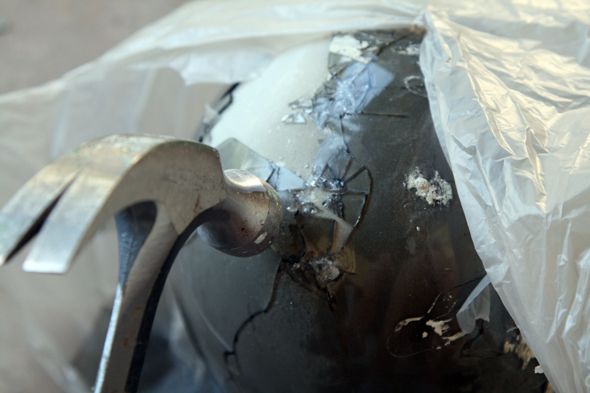
I found two glass spheres at Goodwill too and thought they would work well for making concrete garden sculptures. We filled one up all the way and a second one up about 3/4 of the way.
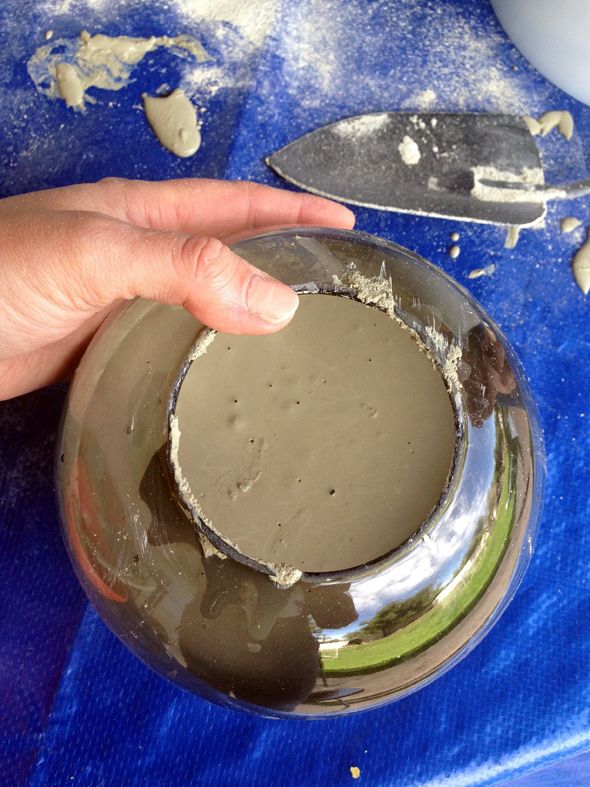
When they were dry, we put them in a plastic bag and chipped off the glass.
I love them and I want to make a giant one!
With the left over concrete in the bucket that was starting to dry up, I rolled out little balls and flattened one side before they dried.
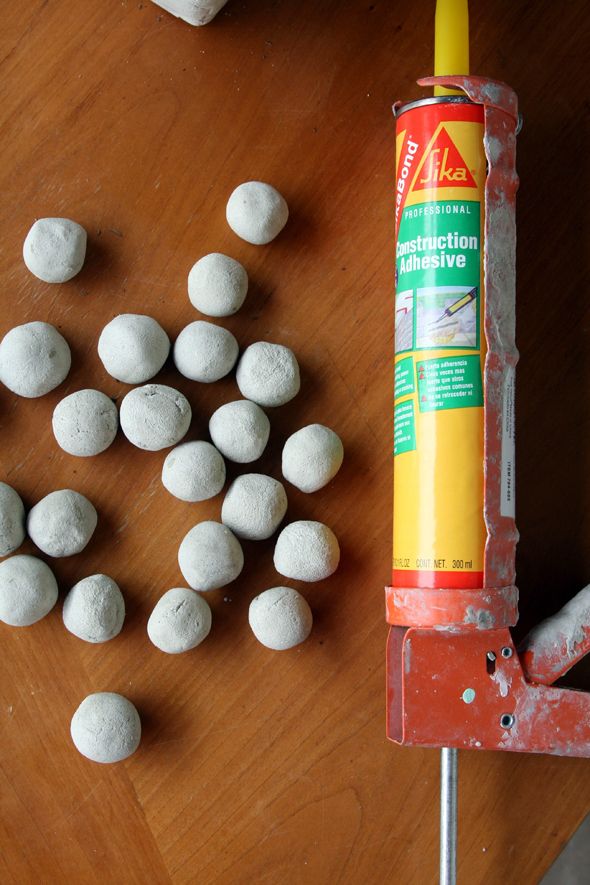
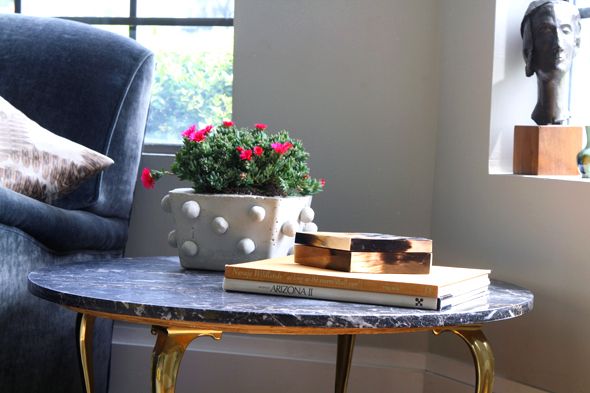
I put a little construction adhesive on the flat sides and glued the little nubbins on to one of the planters we made from a plastic popcorn container.
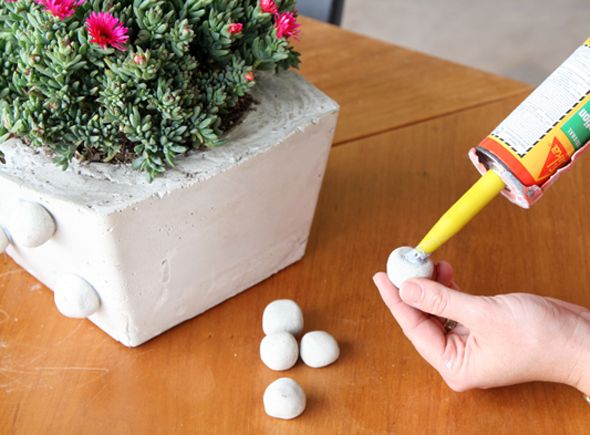
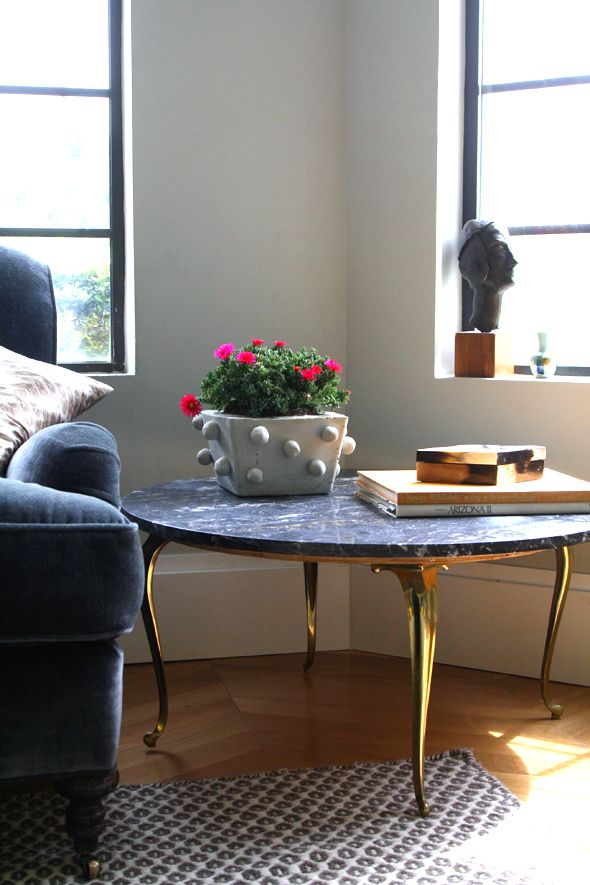
Everyone should have a concrete planter with nubbins. YOLO.
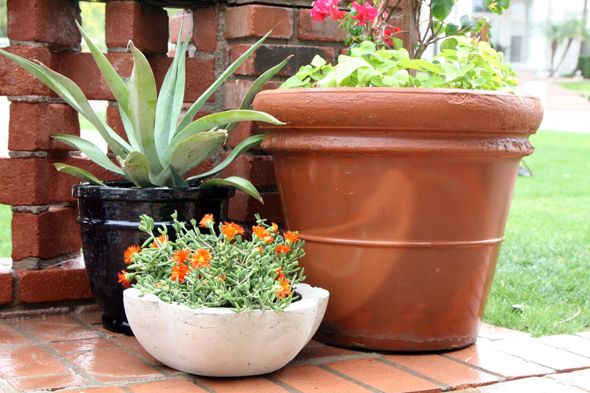
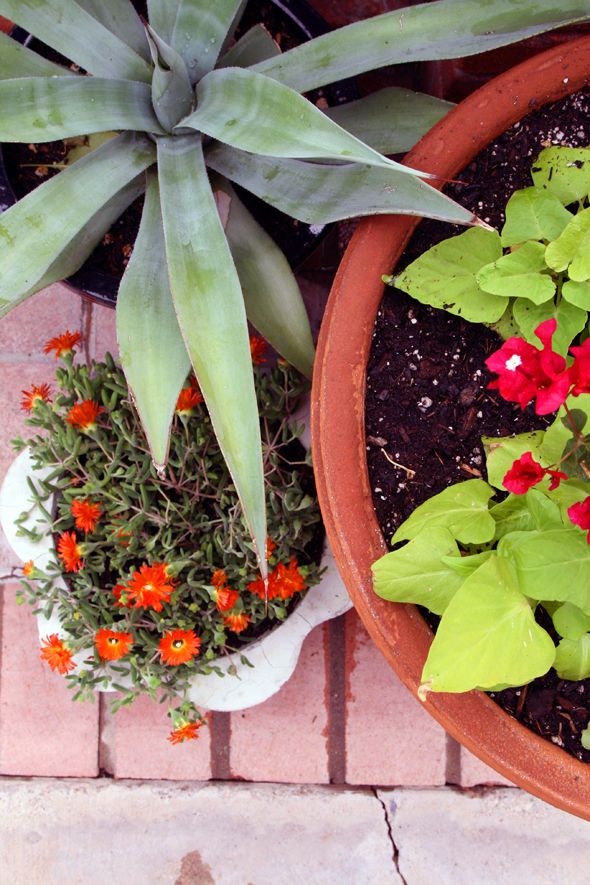
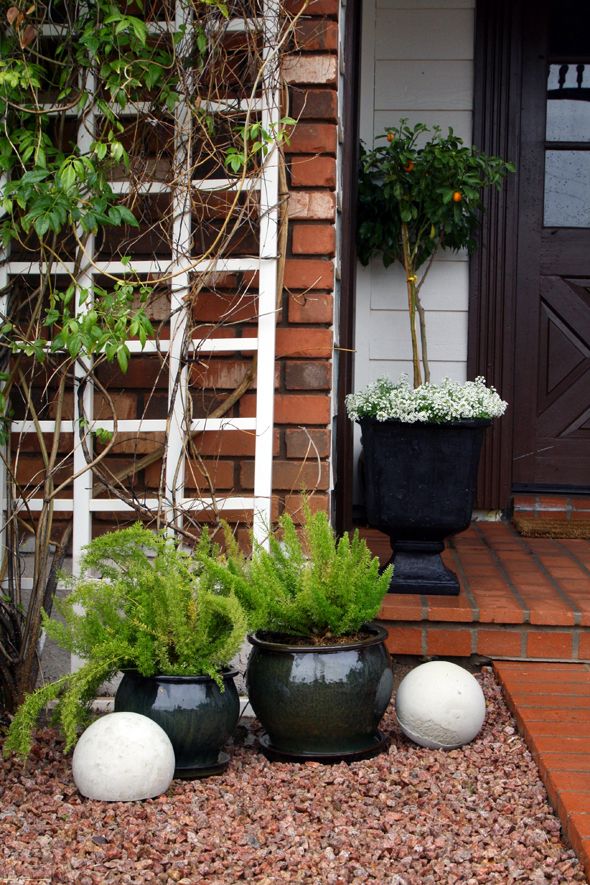
If you're lucky enough to live in a place that actually gets moisture (slow single tear for myself), you can grow moss on your concrete planters with a little bit of moss from your yard thrown in a blender with buttermilk for a sec. You paint the mixture on the planters and the moss should grow pretty fast. I tried this in Brooklyn and was surprised at how well it worked on some too-new terracotta pots we had on the back porch.
Anyway, fun, right? I'm sort of feeling like concrete is my jam now. I want to concrete all the things.