When we were looking for cribs, the ideal was the Oeuf Sparrow - but the cost was a little prohibitive. We ended up using the Olivia crib from Walmart's Baby Mod line. It's a really great crib for the price ($300) and I think Joanna has been happy with it. The adorable dots sheets are from Dwell. I sewed the crib skirt from a one yard remnant of yellow linen I already had.
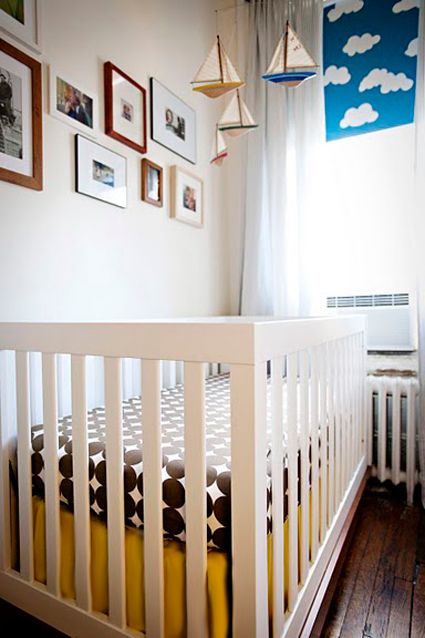
We really loved the idea of doing something with clouds in the room (originally we were thinking about this bedding). Joanna wanted a black-out shade for light control with nap time, so we bought a vinyl roller shade online cut to fit the nursery window. I drew out some cloud shapes on cardboard and played with the design a little until the layout looked right.

Then I traced out the shapes and painted out the background with regular latex paint. I used a sample pot of Glidden's Peacock Blue and that was more than enough for two-three coats on the shade.

Make sure to really let the paint dry - give it at least two days before you mess with it at all. I love how this project turned out!

We paired the clouds shade with some simple gray and white linen curtains that I sewed myself.

I tried something new with the header and sewed in little strips of ribbon for hanging rather than doing a rod pocket.


Joanna was excited about the idea of a gallery wall of family photos in the room. I collected some new and vintage frames for her photos and brought a huge box with me on installation day.
A quick note about gallery walls: I've hung a bunch of these types of arrangements. I've used kraft paper templates before (= ridiculous waste of time) and I've tried just eyeballing the arrangement (= a million extra nail holes). Here's how I figure out the lay out of a gallery wall. It works like a charm for me. It's fast and there are no extra nail holes in the end.
1. Measure the length of the wall space you want to cover. In an open area where you have lots of room to work, put your measuring tape down on the floor, locked at the correct length so you can reference that measurement.
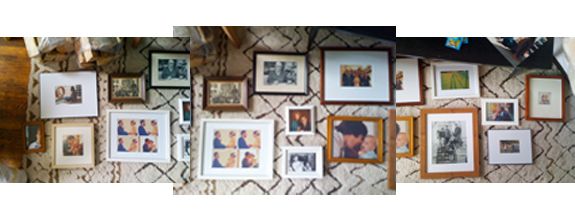
2. Play with the layout of the frames. Be sensitive to frame size, frame color, mat size, image color, image subject, etc.
3. Once you've found a good arrangement and the right spacing, take lots of photos of your arrangement on the floor for reference.
4. Start with the top left frame in the arrangement and hang that on your wall. Refer to your photos to note where to hang the adjacent frames (ie 4" down, 3" to the right, etc). It's easy to figure out where to put your nail if you're sensitive to the placement of the nail hanging mechanism on your frame.
It's not an exact science, but it really works well for me. I rarely have to make adjustments in the end. I think it took me about 20 minutes total to lay out and hang the gallery wall in Toby's room.

And lastly, hanging over the crib is one of my very favorite things in the nursery. Joanna's siblings bought this sweet sailboat mobile as a gift for Toby at the Ark in San Fransisco. They embroidered the sail of the blue boat with the numbers of their grandparent's sailboat! I love personal touches in any room, but something like this was perfect for the nursery!

Part 2 of Toby's Nursery tour is up tomorrow!
{Again, a HUGE thanks to Karen Mordechai for taking many of these photos above. Karen is a fabulously talented New York-based photographer. You should check out her portfolio, especially if you have a wedding coming up!}